
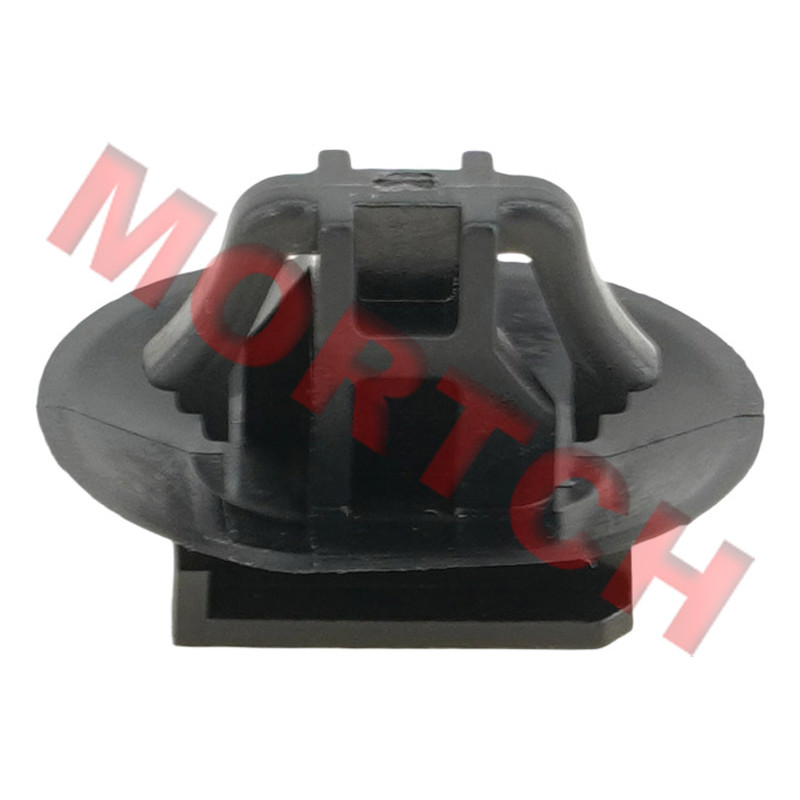
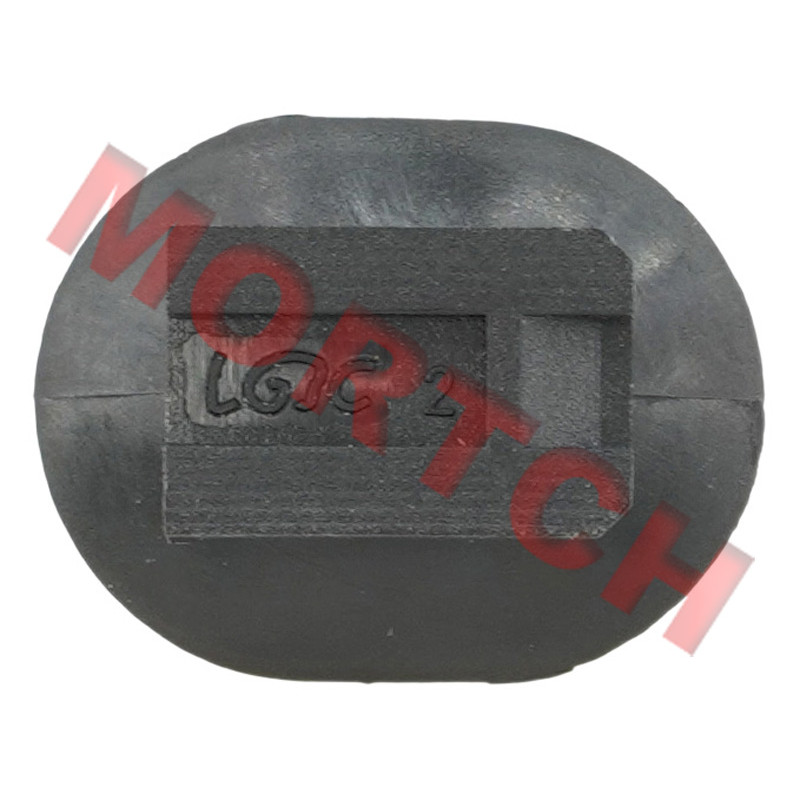
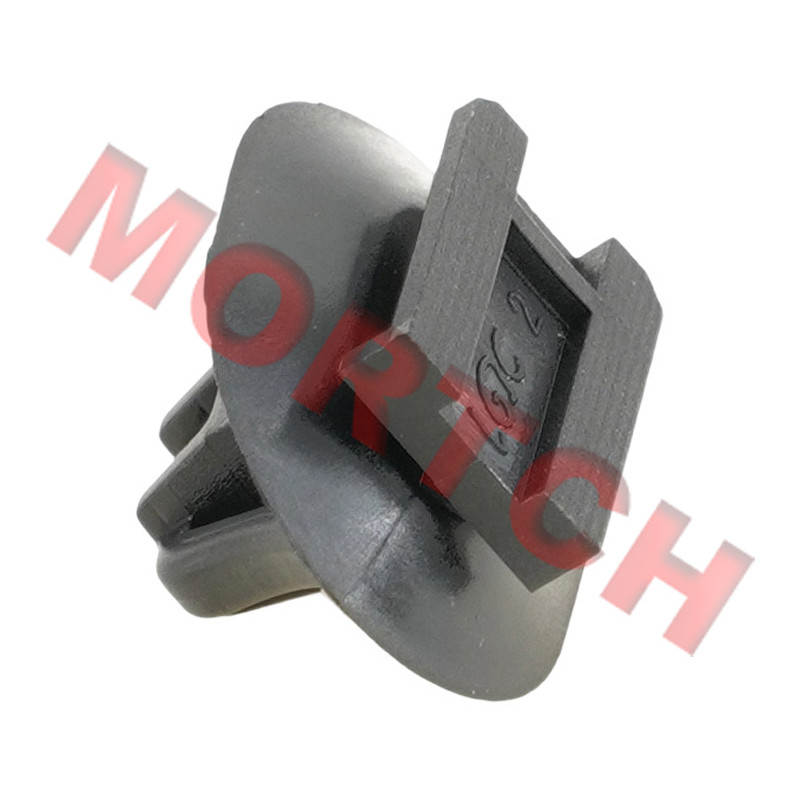
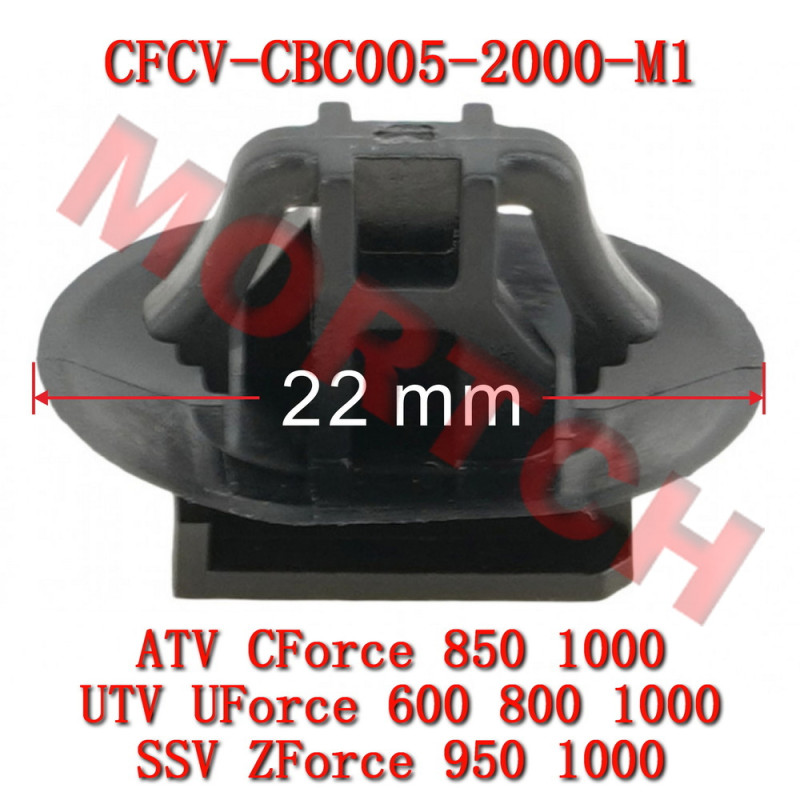
Clip
- Brand: Mortch Motor
- Product Code: MICFCV-CBC005-2000-M1
- Product Viewed: 27
- Availability: In Stock
- Weight: 0.00kg
¥2.00
| Shipping To: |
🔧 CFMoto Clip
📦 Part Number: CFCV-CBC005-2000-M1
⚙️ Clip · Body Clip · OEM Spec
📍 Installation Location: Body panels / Trim / Interior mounting points
✅ Single unit · Premium engineering plastic · Direct fit · Compatible with multiple CFMoto ATV/Motorcycle/SSV/UTV & EV models
This is a CFMoto OEM-spec Clip, part number CFCV-CBC005-2000-M1, sold as a single unit. This clip is a standard fastener used for securing body panels, trim, and interior components. It is widely used for installing and retaining exterior plastic parts and interior trim, offering quick installation, reliable retention, and easy removal — one of the most commonly used consumable fasteners in vehicle assembly and maintenance.
Over time, the original clip may fail due to aging, deformation, breakage, or worn retaining tabs — leading to loose panels, rattles, or detachment. Replacing with an OEM-spec clip is a simple and effective way to restore panel mounting reliability and eliminate noise.
✅ OEM Quality Assurance: Manufactured strictly to CFMoto original technical standards. Made from premium engineering plastic, with dimensions and clip structure identical to the genuine part, ensuring a perfect replacement and reliable retention.
This Clip (part number CFCV-CBC005-2000-M1, single unit) fits the following CFMoto models:
- 2025-2026 UTV CF800UTR-4 UForce 800 XL
- 2021-2026 UTV CF600UTR(T1b) UForce 600
- 2024-2026 UTV CF600UTR UForce 600
- 2025-2026 UTV CF200DUU U6 EV
- 2025-2026 UTV CF1000UTR-8L UForce U10 XL PRO
- 2025-2026 UTV CF1000UTR-8K UForce U10 PRO Highland
- 2025-2026 UTV CF1000UTR-8 UForce U10 PRO(T1b)
- 2022-2026 UTV CF1000UTR-5 UForce 1000 XL
- 2018-2026 UTV CF1000UTR-3 UForce 1000
- 2022-2025 SSV CF1000UTR-C ZForce 1000 Sport
- 2023-2026 SSV CF1000UTR-6(T1b) ZForce 950 Sport
- 2026 SSV CF1000STR-L Z10-4 Turbo
- 2024-2026 SSV CF1000STR-3L ZForce 950 Sport-4
- 2026 SSV CF1000STR(T1b) Z10 Turbo
- 2025-2026 Motorcycle CF800-7FH 800NK
- 2023-2024 Motorcycle CF800-7F(EU5) 800NK Sport
- 2025-2026 Motorcycle CF700-9AH 700MT
- 2025-2026 Motorcycle CF650-11H 675NK
- 2025-2026 Motorcycle CF650-10H 675 SR-R
- 2025-2026 Motorcycle CF400-8H 450MT
- 2024 Motorcycle CF400-8F(EU5) 450MT
- 2024 Motorcycle CF400-8A(CN4) 450MT
- 2024 Motorcycle CF400-8(CN4) 450MT
- 2025-2026 Motorcycle CF400-7H 450NK
- 2023-2025 Motorcycle CF400-7F(EU5) 450NK
- 2025 Motorcycle CF400-6H(CHAMPION VERSION) 450SR
- 2025-2026 Motorcycle CF400-6H 450SR
- 2022-2025 Motorcycle CF400-6F(EU5) 450SR
- 2026 Motorcycle CF400-16H
- 2026 Motorcycle CF400-12H 450SR
- 2026 Motorcycle CF250GY-H 250Dual
- 2025-2026 Motorcycle CF125-11H 125NK
- 2025-2026 ATV CF800AU-3 CForce 850 X8 Touring
- 2024-2026 ATV CF800ATR-5 CForce 850 X8 Touring
- 2026 ATV CF1000AU-4L GOES TERROX 1000 EPS
📌 Fitment Note: This clip fits the body panel mounting of the listed CFMoto models. Sold as a single unit; multiple clips are typically required per vehicle — purchase the quantity needed. If your specific model is not listed, please contact us with your VIN to confirm compatibility.
- ✅ OEM Original Spec: Manufactured to CFMoto original technical standards; dimensions and clip structure match the genuine part exactly.
- 🛡️ Premium Engineering Plastic: Made from high-strength, impact-resistant, aging-resistant plastic with excellent elasticity and durability.
- 🔧 Direct Fitment: Direct replacement for the original part — easy installation with no tools required.
- 💪 Reliable Retention: Ensures panels are securely mounted to prevent looseness and rattles.
- 🔄 Direct Replacement: Replaces aged, broken, or worn original clips.
• Body panel or trim is loose — can be moved by hand.
• Panel rattles or makes noise while riding (vibration or rubbing).
• Clip shows visible aging, deformation, breakage, or worn retaining tabs (visual inspection).
• Clip cannot be securely locked or falls out easily.
• Clip is damaged when the panel is removed.
If any of these occur, replace the clip promptly to restore panel mounting reliability.
Follow these steps to replace the clip. This is a simple DIY procedure that requires no special skills.
🔧 Pre-Installation Preparation
- Confirm the clip is the correct CFCV-CBC005-2000-M1 matching the original.
- A clip removal tool is recommended to minimize damage to panels.
- Prepare a clean rag to wipe dust and debris from around the mounting hole.
🔄 Step 1: Remove the Old Clip
- Using a clip removal tool or a flat-head screwdriver, carefully pry up the old clip.
- Avoid using excessive force to prevent damage to the panel or mounting hole.
- Once removed, inspect the mounting hole for any debris or damage.
- Clean the area around the mounting hole with a clean rag.
🧽 Step 2: Install the New Clip
- Remove the new clip (CFCV-CBC005-2000-M1) from its packaging and check for any damage or deformation.
- Align the clip with the mounting hole, ensuring correct orientation.
- Press the clip firmly into the mounting hole until you hear a "click" — confirming the clip is fully locked.
- Check that the clip is properly seated with no looseness or tilting.
✅ Step 3: Post-Installation Check
- Check that the panel is flush and sits tight against the body.
- Push the panel gently by hand to confirm it is securely fastened with no movement.
- If replacing multiple clips, repeat the process for each one.
- A test ride is recommended to confirm there are no rattles.
💡 Installation Key Points
- Use a dedicated clip removal tool to avoid damaging panels during removal.
- Ensure the clip is properly aligned with the mounting hole before pressing in to avoid deformation.
- If the clip does not press in easily, check the mounting hole for foreign objects or damage.
- When installing multiple clips, work in a diagonal pattern to ensure even panel alignment.
1. Confirm the clip is the correct CFCV-CBC005-2000-M1 matching the original.
2. Remove the old clip (use a clip removal tool if available).
3. Clean the mounting hole, removing any debris.
4. Align the new clip with the mounting hole and press it into place.
5. Ensure the clip is fully seated and securely locked.
6. Check that the panel is flush and securely mounted.
Installation is simple and DIY-friendly.
- Please verify that this part fits your specific vehicle model and year. Many vehicles share similar names but use different components depending on year or market region.
- We strongly recommend cross-checking with your vehicle's owner's manual or contacting us for confirmation before placing your order.
- Product images, measurements, and descriptions are for reference only. Slight variations in color or appearance may occur due to manufacturing batches or photography lighting—functional specifications remain identical to the ordered part.
- Professional installation is mandatory. Mortch Motor assumes no liability for damages, injuries, or losses resulting from improper installation, misuse, unauthorized modification, or abnormal operation.
- All listed prices EXCLUDE shipping costs, import duties, taxes, and customs clearance fees. These charges (if applicable) are determined and collected by your local customs authority and are solely the buyer's responsibility.
- In case of return due to unpaid duties/taxes or refusal to clear customs, the buyer shall bear the original shipping cost, return shipping fees, and any associated administrative charges deducted from the refund.
 Thank You
 Please tell your friends about our Clip
Related Products
Auxiliary Relay
MICF9010-150350
CFMoto Auxiliary Relay Fits multiple models · OEM Specification Part number: 9010-150350 (old ..
EFI Ignition Coil
MICF018B-178000
CF Moto EFI Ignition CoilOEM Part Number: 018B-178000 (Old # CF188-B-178000) | Bosch: F 01R 00A 003T..
Alarm Switch
MICF7000-151600
CFMoto Alarm Switch OEM Part Number 7000-151600 🔧 Alarm Switch · Signal System · 2+3 Pin OE..

Overriding Switch
MICF7000-151400
CFMoto Overriding SwitchOEM Part Number 7000-151400🔌 Overriding Switch · 2+2 Pin · Electrical System..

Turn Light Switch
MICF7000-151500
CFMoto Turn Light SwitchPart Number: 7000-1515002+3 Pin · OEM Specification📋 OverviewThis turn light..

Illumination Switch
MICF7000-151100
CFMoto Illumination Switch OEM Part Number 7000-151100 🔧 Illumination Switch · Lighting Contro..

Dimmer Switch
MICF7000-151200
CFMoto Dimmer Switch OEM Part Number 7000-151200 🔧 Dimmer Switch · Lighting Control · 2+3 Pin ..

Engine Stop Switch
MICF7000-151000
CFMoto Engine Stop Switch OEM Part Number 7000-151000 🔧 Engine Stop Switch · Engine Control · ..

Horn Switch
MICF7000-151300
CFMoto Horn SwitchOEM Part Number 7000-151300🔧 Horn Switch · Signal System · 2+2 PinOEM quality · Di..
Turning Switch
MICF5BR0-151500
CFMoto Turn Signal SwitchOEM Part Number 5BR0-151500🔁 Turn Signal Switch · Left/Right Turn ControlOE..
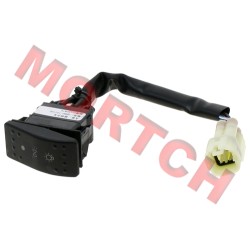
Illumination Switch
MICF5BR0-151100
CFMoto Illumination Switch OEM Part Number 5BR0-151100 💡 Illumination Switch · Light Master Co..
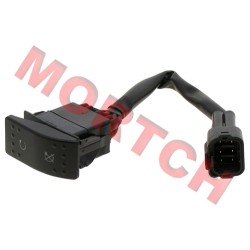
Stop Switch
MICF5BR0-151000
CFMoto Stop SwitchReplaces OEM 5BR0-151000 · 6Pin PlugFits CFMoto ZForce 500/550 Series (2014-2022)📋..
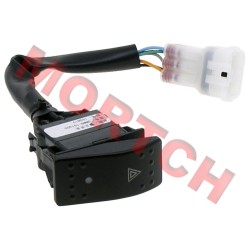
Hazard Switch
MICF5BR0-151600
CFMoto Hazard Switch OEM Part Number 5BR0-151600 ⚠️ Hazard Switch · Emergency Flasher Switch ..
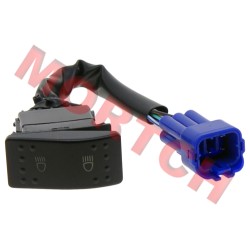
Dimmer Switch
MICF5BR0-151200
CFMoto Dimmer Switch OEM Part Number 5BR0-151200 💡 Dimmer Switch · Headlight Control OEM Qu..
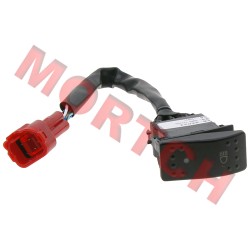
Switch, High-Beam Light
MICF5BR0-151700
CFMoto High-Beam Light Switch OEM Part Number 5BR0-151700 💡 High-Beam Switch · Headlight Contr..
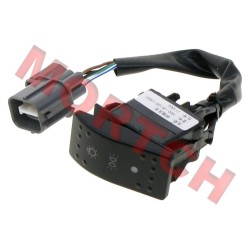
Illumination Switch
MICF7000-151100-10000
CFMoto Illumination Switch OEM Part Number 7000-151100-10000 💡 Illumination Switch · 4-Pin Con..
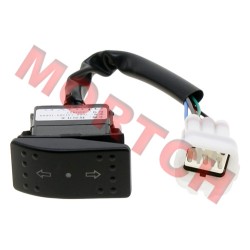
Turning Switch
MICF7000-151500-10000
CFMoto Turning SwitchOEM Part Number 7000-151500-10000🔧 Turn Signal Switch · Signal System · 6 Pin P..

Auxiliary Relay
MICF5BW1-150120
CFMoto Auxiliary Relay OEM Part Number 5BW1-150120 🔌 General Purpose Relay 12V DC · Control..
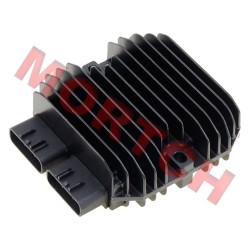
EFI Rectifier - Voltage Regulator - 60A 700W
MICF0800-177000-30000
CFMoto High-Power Regulator 9DS3 - For EPS SystemPart Number: 0800-177000-10000Product Type: Chargin..
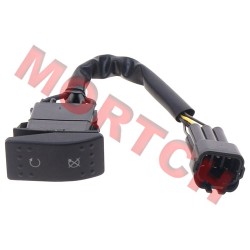
Engine Stop Switch
MICF7000-151000-10000
CFMoto Engine Stop Switch OEM Part Number 7000-151000-10000 🔧 Engine Stop Switch · Engine Cont..
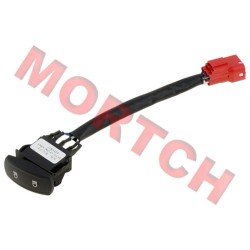
Dimmer Switch
MICF5HY0-151200-10001
CFMoto Dimmer Switch OEM Part Number 5HY0-151200-10001 🔌 Dimmer Switch · Electrical System · 5..
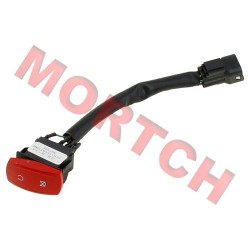
Stop Switch
MICF5HY0-151000-10000
CFMoto Stop Switch OEM Part Number 5HY0-151000-10000 🔧 Stop Switch · Engine Control · 6-Pin Co..
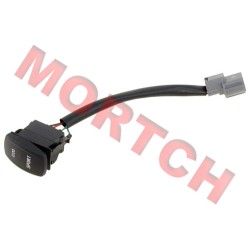
Mode Switch
MICF5HY0-151700-10000
CFMoto Mode Switch OEM Part Number 5HY0-151700-10000 🔧 Mode Switch · Drive Mode Control OEM..
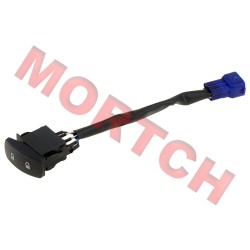
Dimmer Switch
MICF5HY0-151200
CFMoto Dimmer Switch OEM Part Number 5HY0-151200 🔌 Dimmer Switch · Electrical System · 5 Pin (..
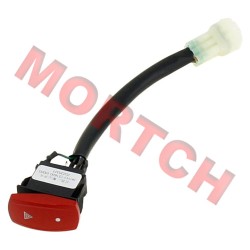
Hazard Switch
MICF5HY0-151600-10000
CFMoto Hazard Switch OEM Part Number 5HY0-151600-10000 🔌 Hazard Warning Switch · Electrical · ..
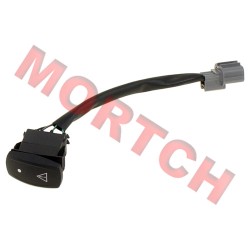
Overriding Switch
MICF5HY0-151400-10000
CFMoto Overriding Switch OEM Part Number 5HY0-151400-10000 🔧 Override Switch · Function Contro..
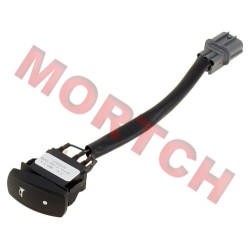
Horn Switch
MICF5HY0-151300-10000
CFMoto Horn Switch OEM Part Number 5HY0-151300-10000 🔧 Horn Switch · Signal System · 3-Pin Con..
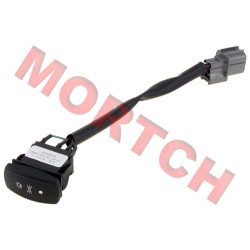
Illumination Switch
MICF5HY0-151100-10000
CFMoto Illumination Switch OEM Part Number 5HY0-151100-10000 🔧 Illumination Switch · Lighting ..
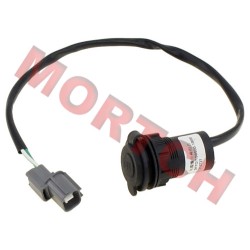
Output Socket, Power
MICF5HY0-150500-10000
CFMoto Power Output SocketOEM Part Number 5HY0-150500-10000🔌 Auxiliary Power Socket2-Pin Plug · 12V ..
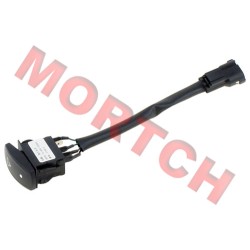
Overriding Switch
MICF5HY0-151400-20000
CFMoto Overriding Switch OEM Part Number 5HY0-151400-20000 🔌 Overriding Switch · 3 Pin Plug · ..
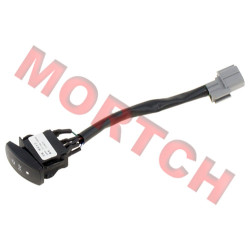
Illumination Switch
MICF5HY0-151100-20000
CFMoto Illumination Switch OEM Part Number 5HY0-151100-20000 🔌 Lighting Switch · 4 Pin Plug · ..
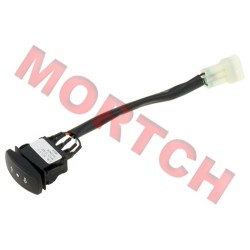
Mode Switch
MICF5HY0-151500
CFMoto Turning Switch OEM Part Number 5HY0-151500 🔌 Turn Signal Switch · Electrical System · 5..
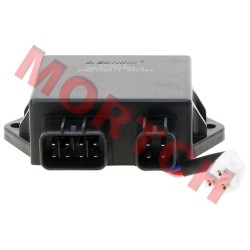
DRL Daytime Running Light Controller
MICF9AWA-150880-20000
CFMoto DRL Controller (Daytime Running Light Controller) OEM Part Number 9AWA-150880-20000 💡 D..
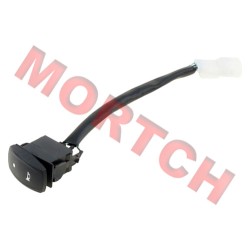
Horn Switch
MICF5HY0-151300-20000
CFMoto Horn Switch OEM Part Number 5HY0-151300-20000 🔧 Horn Switch · Signal System · 3-Pin Con..
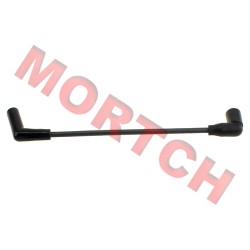
High-Tension Cable
MICF0JYV-178000-4001
CFMoto High-Tension Cable Part Number: 0JYV-178000-4000 Product Type: Ignition System | Spark ..
Nut M6*1.0
MICF30202-060110
CFMoto Nut M6×1.0OEM Part Number 30202-060110🔩 Hex Nut · M6×1.0OEM Quality · High Strength · Direct ..
Front Brake Fluid Hose Wire Clip
MICFA000-050015
CF Moto Front Brake Fluid Hose Wire Clip Part Number: A000-050015 Material: Plastic Product..
Starter Relay
MICF5BWV-150510-5301
CFMoto Start RelayOEM Part Number 5BWV-150510-5300🔧 Start Relay · Electrical System · Starting Contr..